Digital Panel Meters
Wiring guides for ACXA digital panel meters - counters, batch counters, totalizers, RPM indicators, and temperature controllers. Standard 96x96mm and 72x72mm DIN sizes.
Tools Required
Step-by-Step Installation
Cut the panel opening
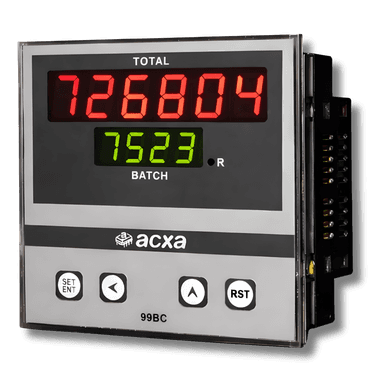
For 96x96mm meters (99-series): cut a 92x92mm opening. For 72x72mm meters (77-series): cut a 68x68mm opening. Use the provided template if available.
Insert the meter
Slide the meter into the cutout from the front. Secure from the rear using the provided spring clips.
The meter should sit flush with the panel face. If it protrudes, check the cutout dimensions.
Connect power
Connect 230V AC (or 110V AC for dual-voltage models) to the power terminals. Refer to the specific wiring diagram for your meter type.
Connect sensor input
Wire the sensor or signal source according to the diagram for your meter type. Counter types use NPN/PNP proximity sensors. Temperature controllers use J-type thermocouple or PT100 RTD.
Connect relay output (if applicable)
For preset counters, batch counters, and temperature controllers, wire the relay output to your solenoid, motor contactor, or alarm. Check the relay rating against your load.
Never exceed the relay contact rating (typically 5A at 250V AC).
Power on and configure
Apply power. Enter the programming mode (typically MENU or long-press SET) to configure your target count, batch size, temperature setpoint, or timer duration.